Conduit Registry Event
This event allows you to register custom conduits.
It is a server event and reloadable! Keep in mind that server events have to be located inside the kubejs/server_scripts folder.
NOTE
The Conduits have been reworked by the EnderIO team in version 8.2.0. Previously, the functions to register the conduits required some more properties. If you need help with that, join the Discord or take a look at the source code before version 8.2.0.
Overview
EnderIO supports data-driven conduits by default. This event adds convenience methods to register custom conduits via KubeJS.
It automatically generates the required JSON files for the conduit as well as the language file entry. The only thing you have to provide is a texture for your custom conduit.
- access in a server script via:
EnderIOEvents.conduits - supported conduits
- item conduit
- energy conduit
- fluid conduit
- chemical conduit (Mekanism)
- ME conduit (Applied Energistics 2)
Registration
To register a custom conduit, the first thing you need to do is to open an event listener for the conduits event in a server script.
EnderIOEvents.conduits(event => {
    // ...
})
After that, use one of the following methods to register the respective conduit type. All conduits need an id that is used as the registry name and a name that is used for the automatic language file entry generation.
The custom conduit will be part of the normal EnderIO Conduits creative tab. Recipes are not generated automatically. You have to add a recipe for your custom conduits yourself! You sometimes need to rejoin the world to see the new conduits. A game restart is not necessary.
Item Conduit
transferRate- specifies the transfer rate of items per tickticksPerCycle- specifies the amount of ticks per second the conduit operates at- note: to calculate the effective transfer rate, the two values need to be multiplied (e.g. 2 ticks per cycle and a transfer rate of 8 would be 16 items per second)
EnderIOEvents.conduits(event => {
    event.registerItemConduit(String id, String name, int transferRate, int ticksPerCycle);
});
Energy Conduit
transferRate- specifies the transfer rate of energy per tick
EnderIOEvents.conduits(event => {
    event.registerEnergyConduit(String id, String name, int transferRate);
});
Fluid Conduit
transferRate- specifies the transfer rate of fluid per tick
EnderIOEvents.conduits(event => {
    event.registerFluidConduit(String id, String name, int transferRate);
});
Chemical Conduit
transferRate- specifies the transfer rate of chemical per tick
EnderIOEvents.conduits(event => {
    event.registerChemicalConduit(String id, String name, int transferRate);
});
ME Conduit
color- specifies the AE2 color conduit transports channels for- this needs to be a value from the
AEColorenum, for universal color useTRANSPARENT - possible values:
BLACK,BLUE,BROWN,CYAN,GRAY,GREEN,LIGHT_BLUE,LIGHT_GRAY,LIME,MAGENTA,ORANGE,PINK,PURPLE,RED,TRANSPARENT,WHITE,YELLOW
- this needs to be a value from the
dense- specifies whether the conduit is a dense ME conduit (32 channels) or a normal one (8 channels)
EnderIOEvents.conduits(event => {
    event.registerMeConduit(String id, String name, String color, boolean dense);
});
Texture
After registering the custom conduit inside the event, the language file as well as the model file are automatically generated. The only things you have to provide are the textures.
Block Texture
For the block of the conduit, the texture file needs to be placed inside the following directory: kubejs/assets/enderio/textures/block/conduit
It needs to have the same name as the id parameter you used when registering the custom conduit. Make sure it's a valid .png file. You can download a template PSD file here.
Conduit Icon
For the icon inside the conduit GUI, you need to provide an additional texture file. It has to be placed in the following directory: kubejs/assets/enderio/textures/conduit_icon
Once again, the texture should have the same name as your conduit id. Make sure to crop the texture accordingly so it only consists of the actual icon.
Example
In this example, we add the Stellar Energy Conduit with the id enderio:stellar_conduit and a transfer rate of 50000 RF/t.
EnderIOEvents.conduits(event => {
    event.registerEnergyConduit("stellar_conduit", "Stellar Energy Conduit", 50000)
})
Texture: 
Creative Tab: 
Connection: 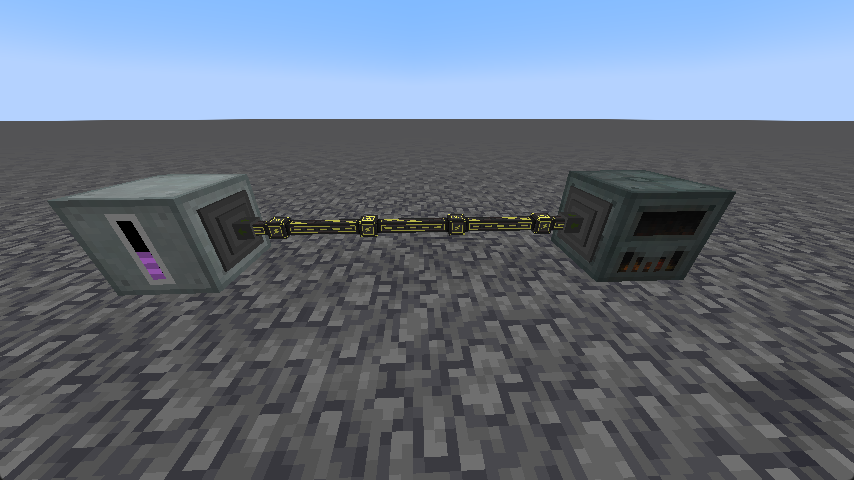
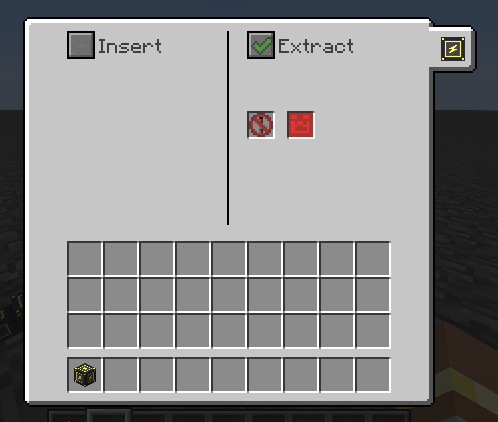
GUI: